Guide · Catalog managers
25 Set up a new product line
Before the first product can be tagged, Hashentic needs to know what the product line looks like. We will set up the Heritage Chronograph watch from the examples.
Dieses Kapitel ist noch nicht in Deutsch verfügbar, daher lesen Sie die englische Version.
1. Prepare shared lists (optional)#
- Open Catalog → Lookups and click Create lookup. Name it, for example, Case materials.
- Open the lookup and click Create item. Add items one by one, or switch to Multiple mode and upload a CSV or Excel file with value, label and description columns (Multiple mode needs the Bulk write license feature and the Write products permission).
2. Create the asset#
- Open Catalog → Assets and click Create asset.
- Enter the Name and a Description. If the line has a fixed run, enter the Amount and tick Limited. If you already have a preset for this kind of product, choose it in Use preset.
- Tick GS1 compliant to use GTINs and GS1 Digital Link, or DPP compliant for a Digital Product Passport, and complete the extra steps.
- Click Create. The asset page opens.
3. Define the fields#
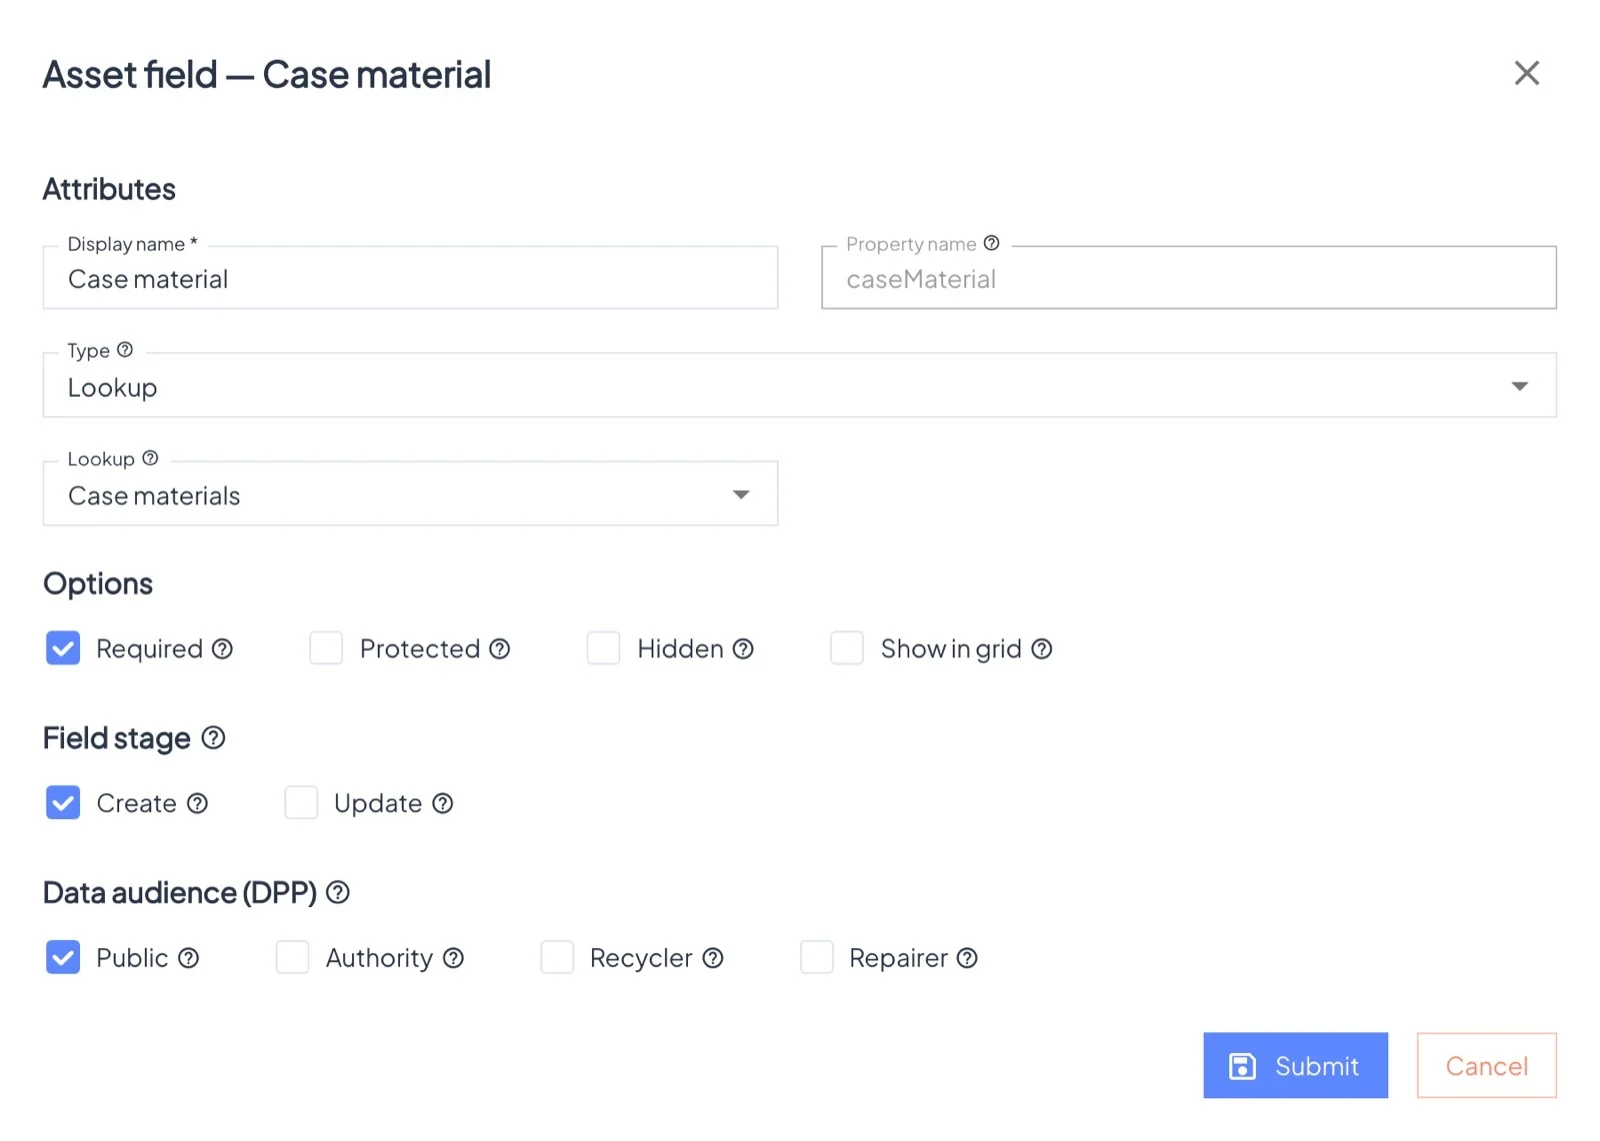
- Open the Fields tab and add a field for each piece of data, such as Serial number (Text, Required, Show in grid), Case material (Lookup) or Production date (Date, only past dates).
- Choose the Field stage: Create for data known at production, Update for data added later, such as Sold at.
- Tick Protected for personal data and Hidden for anything customers should not see.
4. Set the protection rules#
- On the Settings tab, add the countries where the line is sold to Authorized regions, so gray-market scans raise alerts.
- Optionally switch on Answer customer questions with AI and write a welcome text.
- Add Labels you will use later, such as Boutique stock and Sold.