Operations
16 Writing tags and printing barcodes
Creating products and giving them their authentication happens in one dialog: Products → Add new. NFC tags are written through a USB reader connected with the Desktop utility; barcodes are generated instantly and exported for printing.
Эта глава пока недоступна на языке: Русский, поэтому Вы читаете английскую версию.
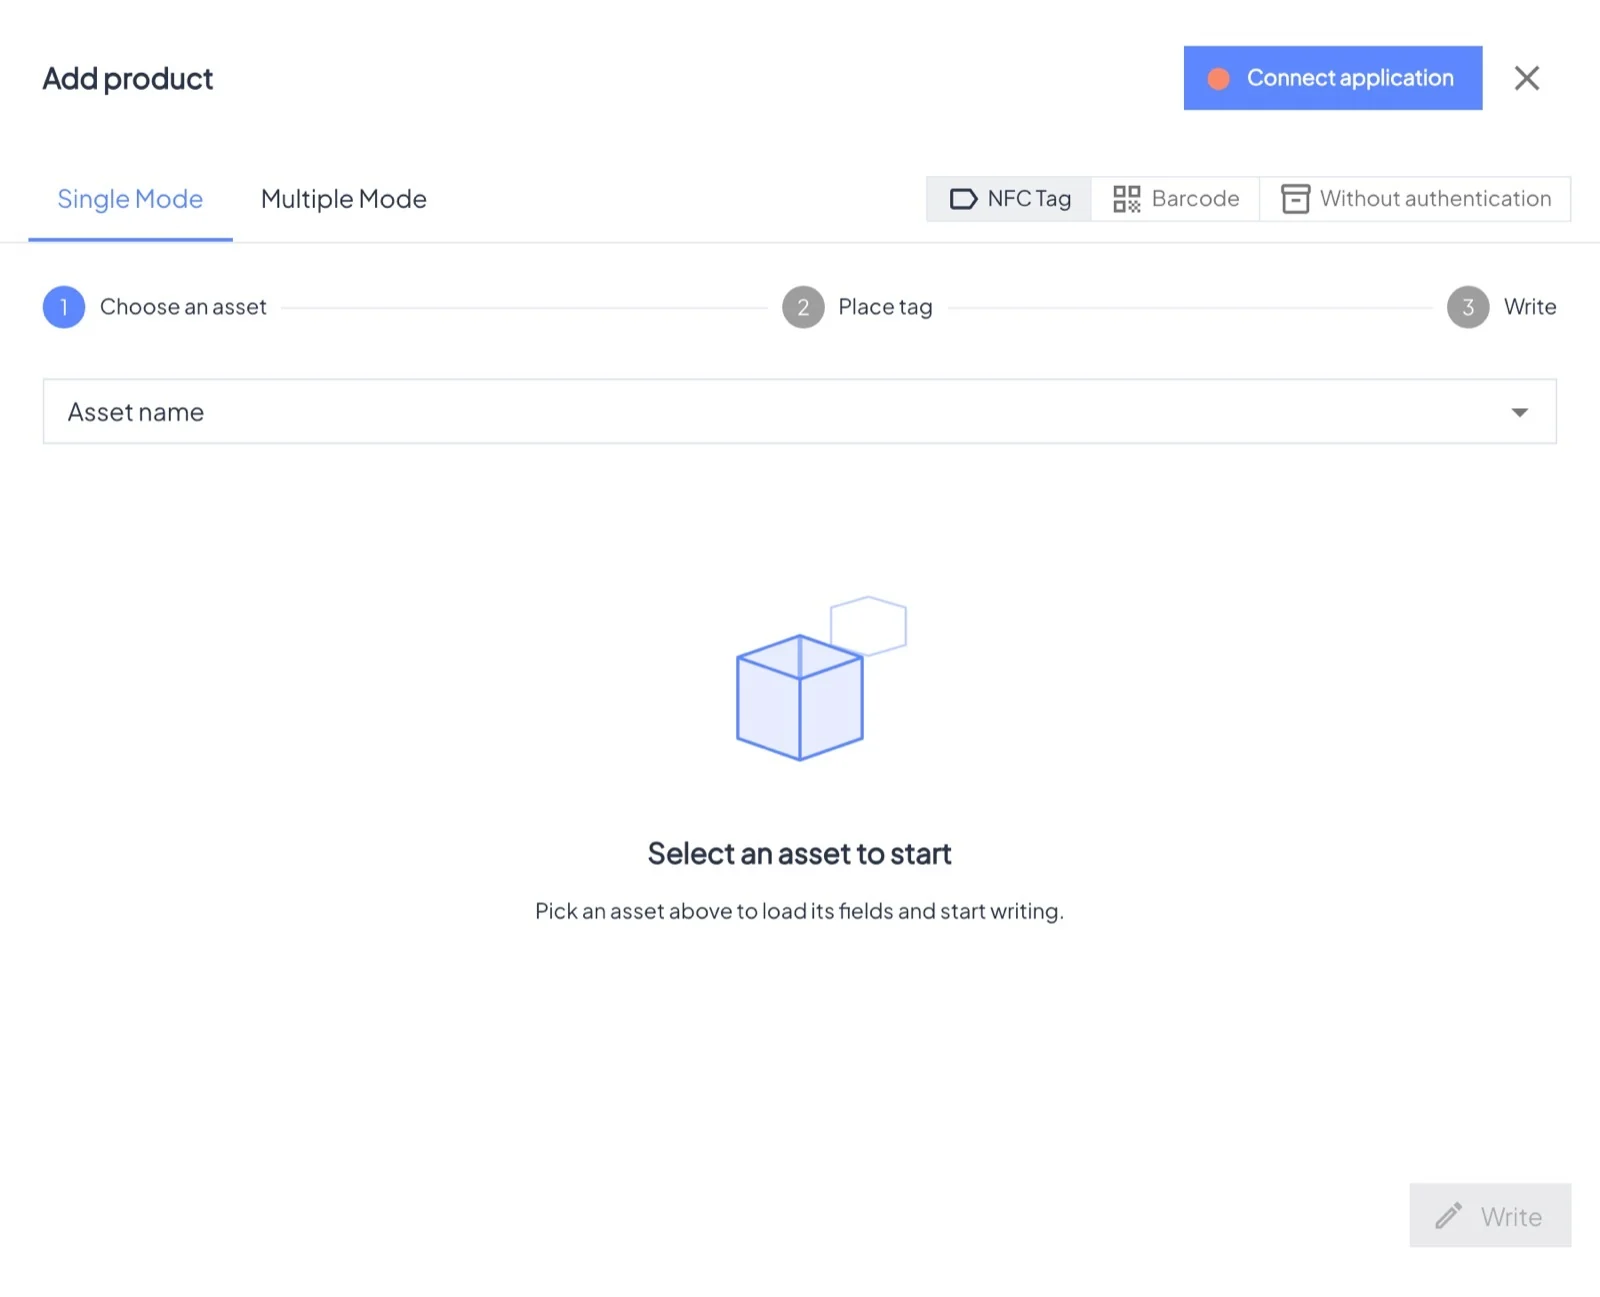
Choose what to create#
- NFC Tag: writes the tag on the reader. The admin panel shows the type of the tag on the reader (NTAG 424, NTAG 215, EM4425).
- Barcode: creates a product with a QR/barcode authentication; no hardware needed.
- Without authentication: creates the product only; add a tag or code later on its page.
Single mode#
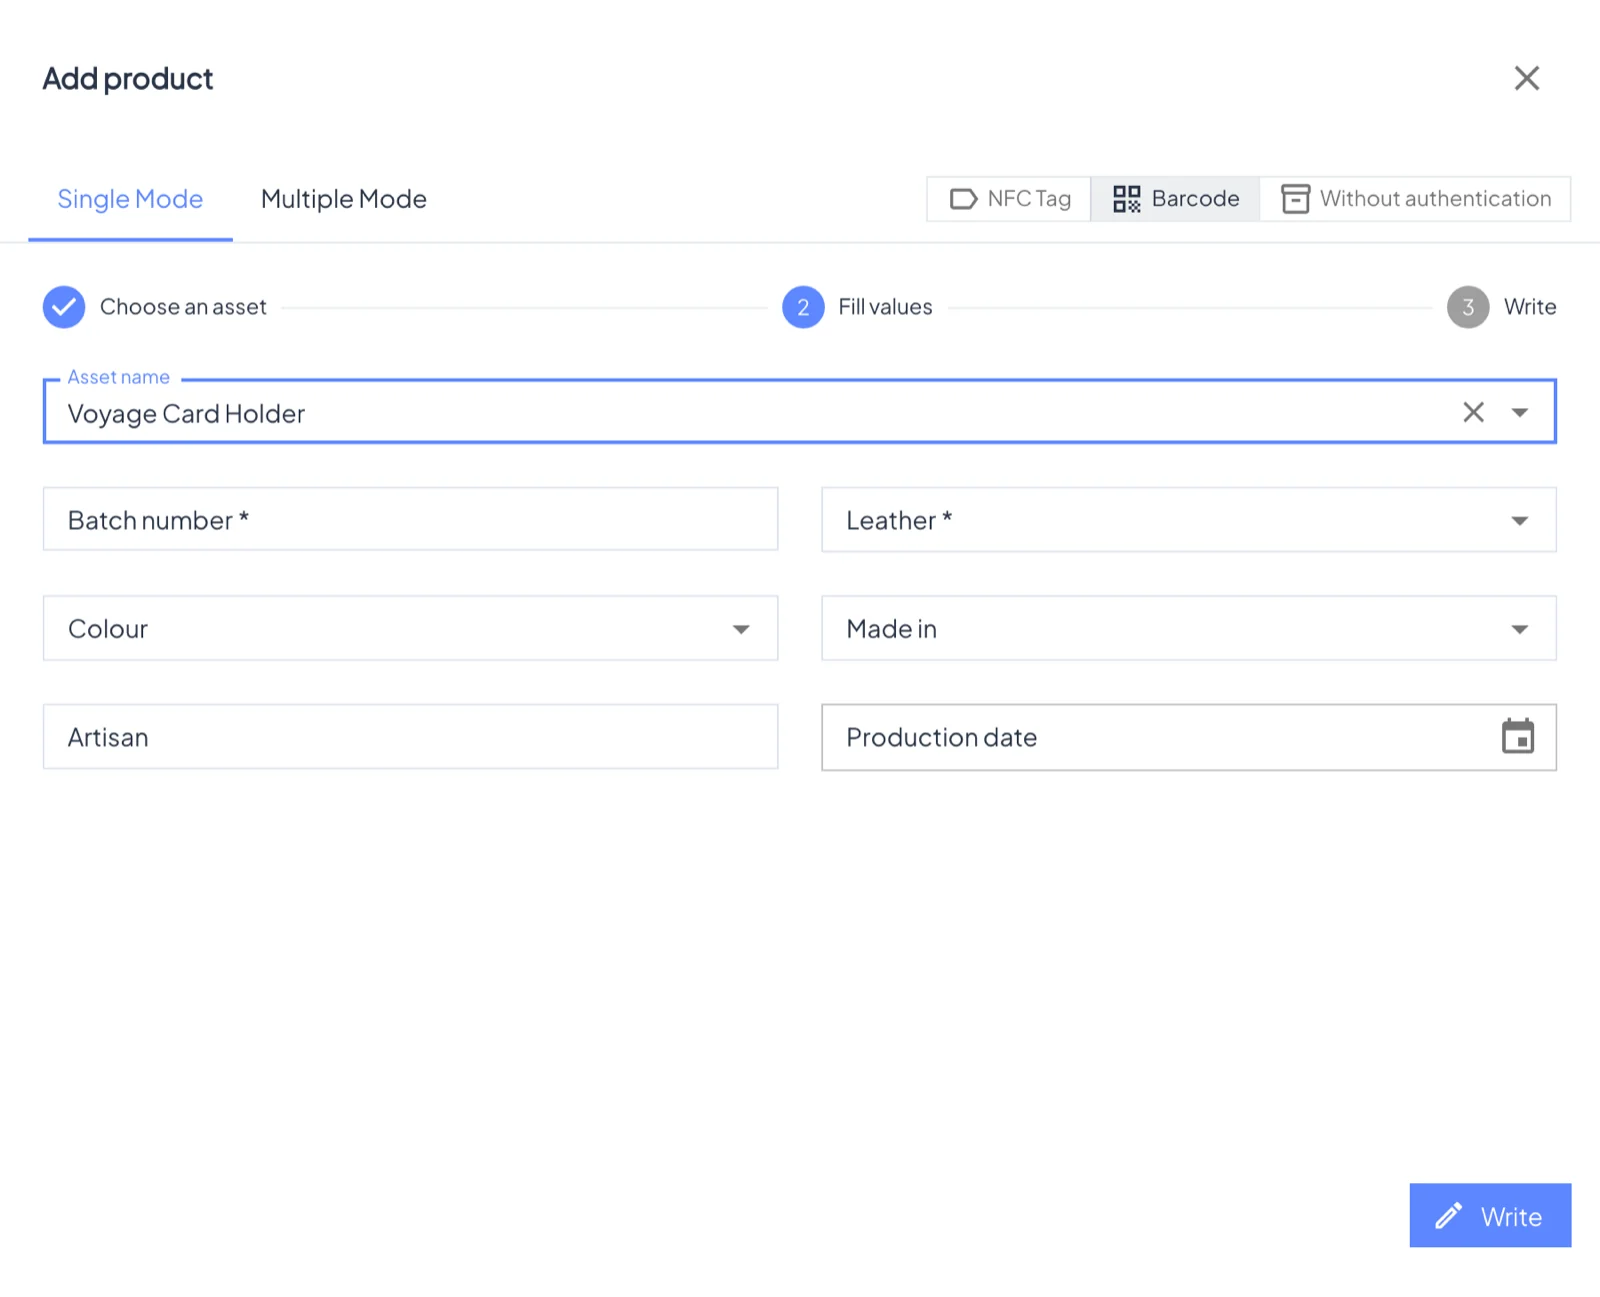
Choose an asset → Place tag / Fill values → Write. Pick the asset in Asset name, fill in its fields, and click Write (or Create). When the tag is written, the product page opens.
Multiple mode#
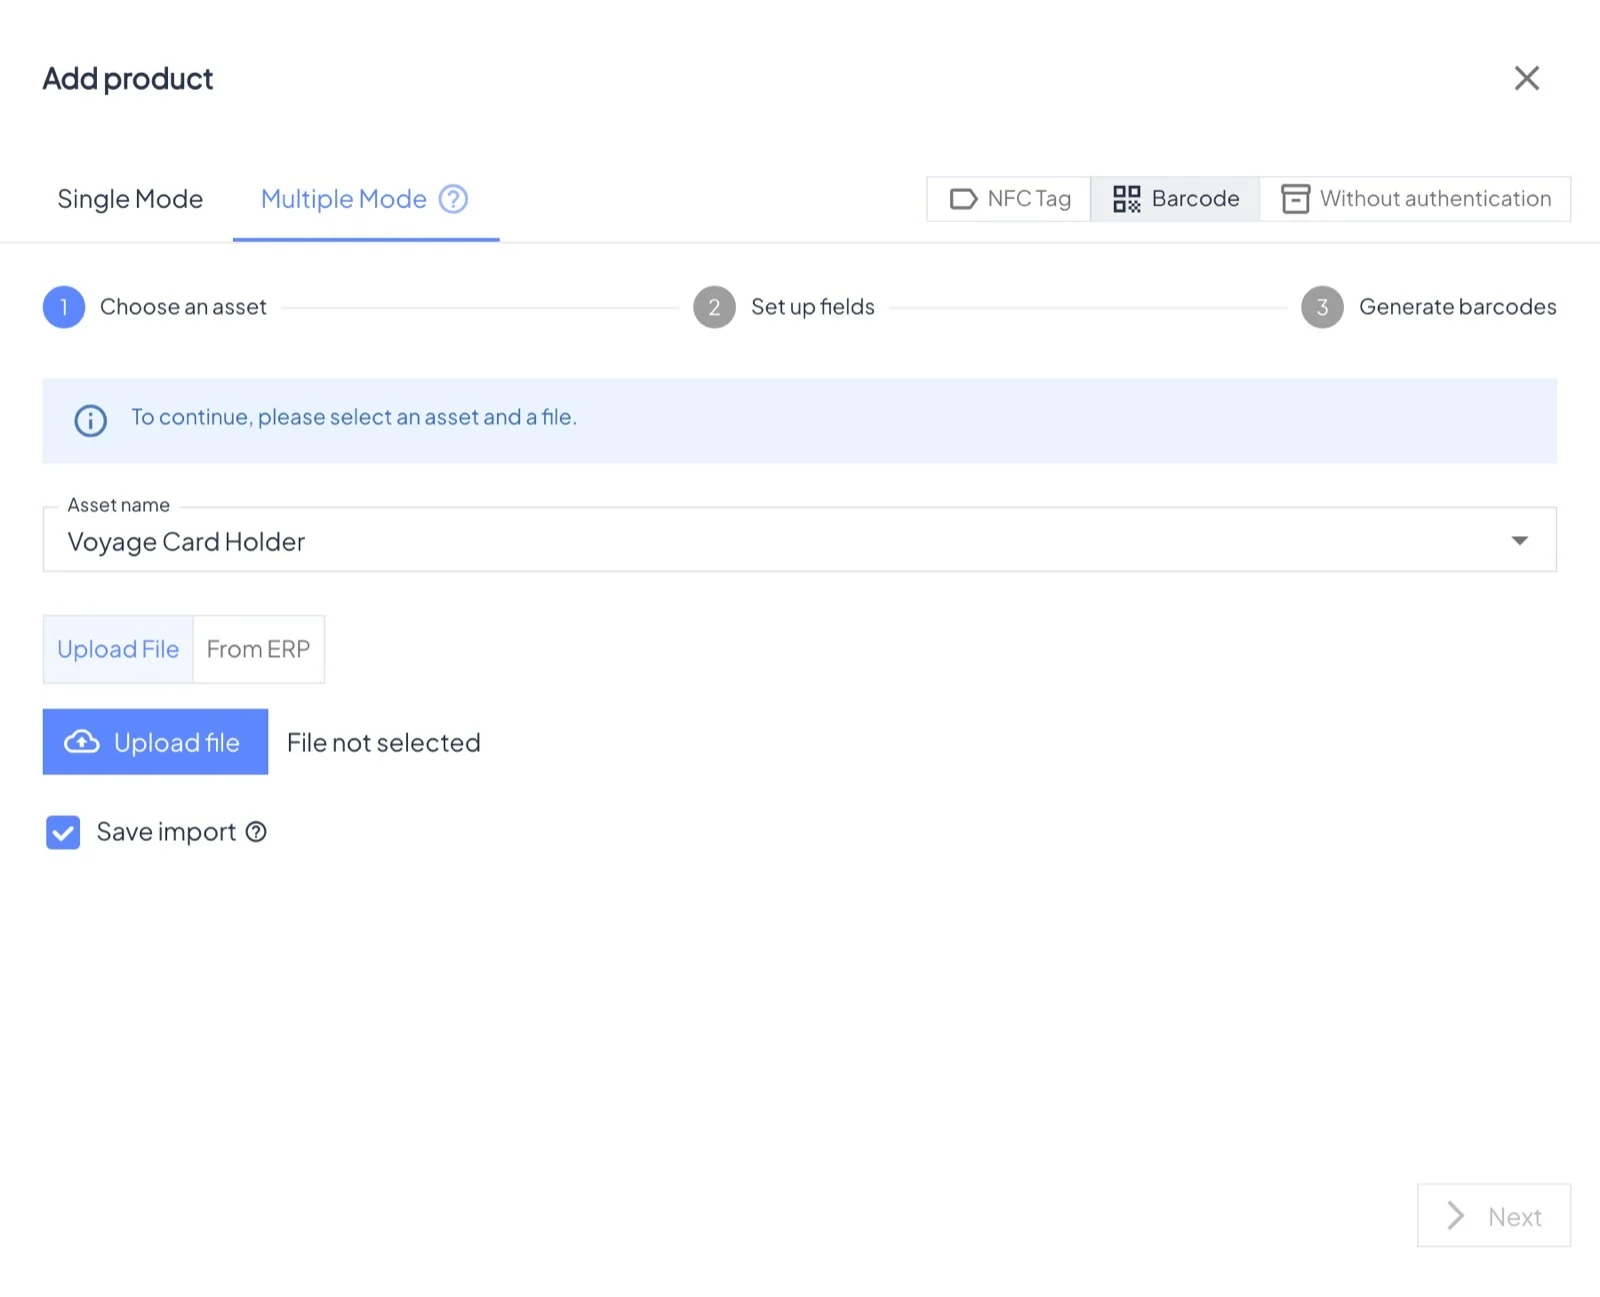
Choose an asset → Set up fields → Write tags / Generate barcodes.
- Upload file: CSV, XLSX or XLS, up to 100,000 rows and 10 MB. The first row holds the column names.
- From ERP: fetch records from a saved ERP connection (chapter 17).
- Rows that fail validation are highlighted; fix them with the edit icon before you start.
- NFC tags are written one after another: place a tag, wait for "written", take it off, place the next. Keep Save import ticked to resume an interrupted session later.
- Generate by number: just a count, up to 50,000, for assets without required fields.
- Set up fields maps each asset field to a column. Columns named exactly like a field's property name are mapped automatically.
- Barcodes are generated in the background as a bulk operation; you can close the page.
- Tick Confirm on tag override to be asked before a tag that already holds data is rewritten.
The Desktop utility#
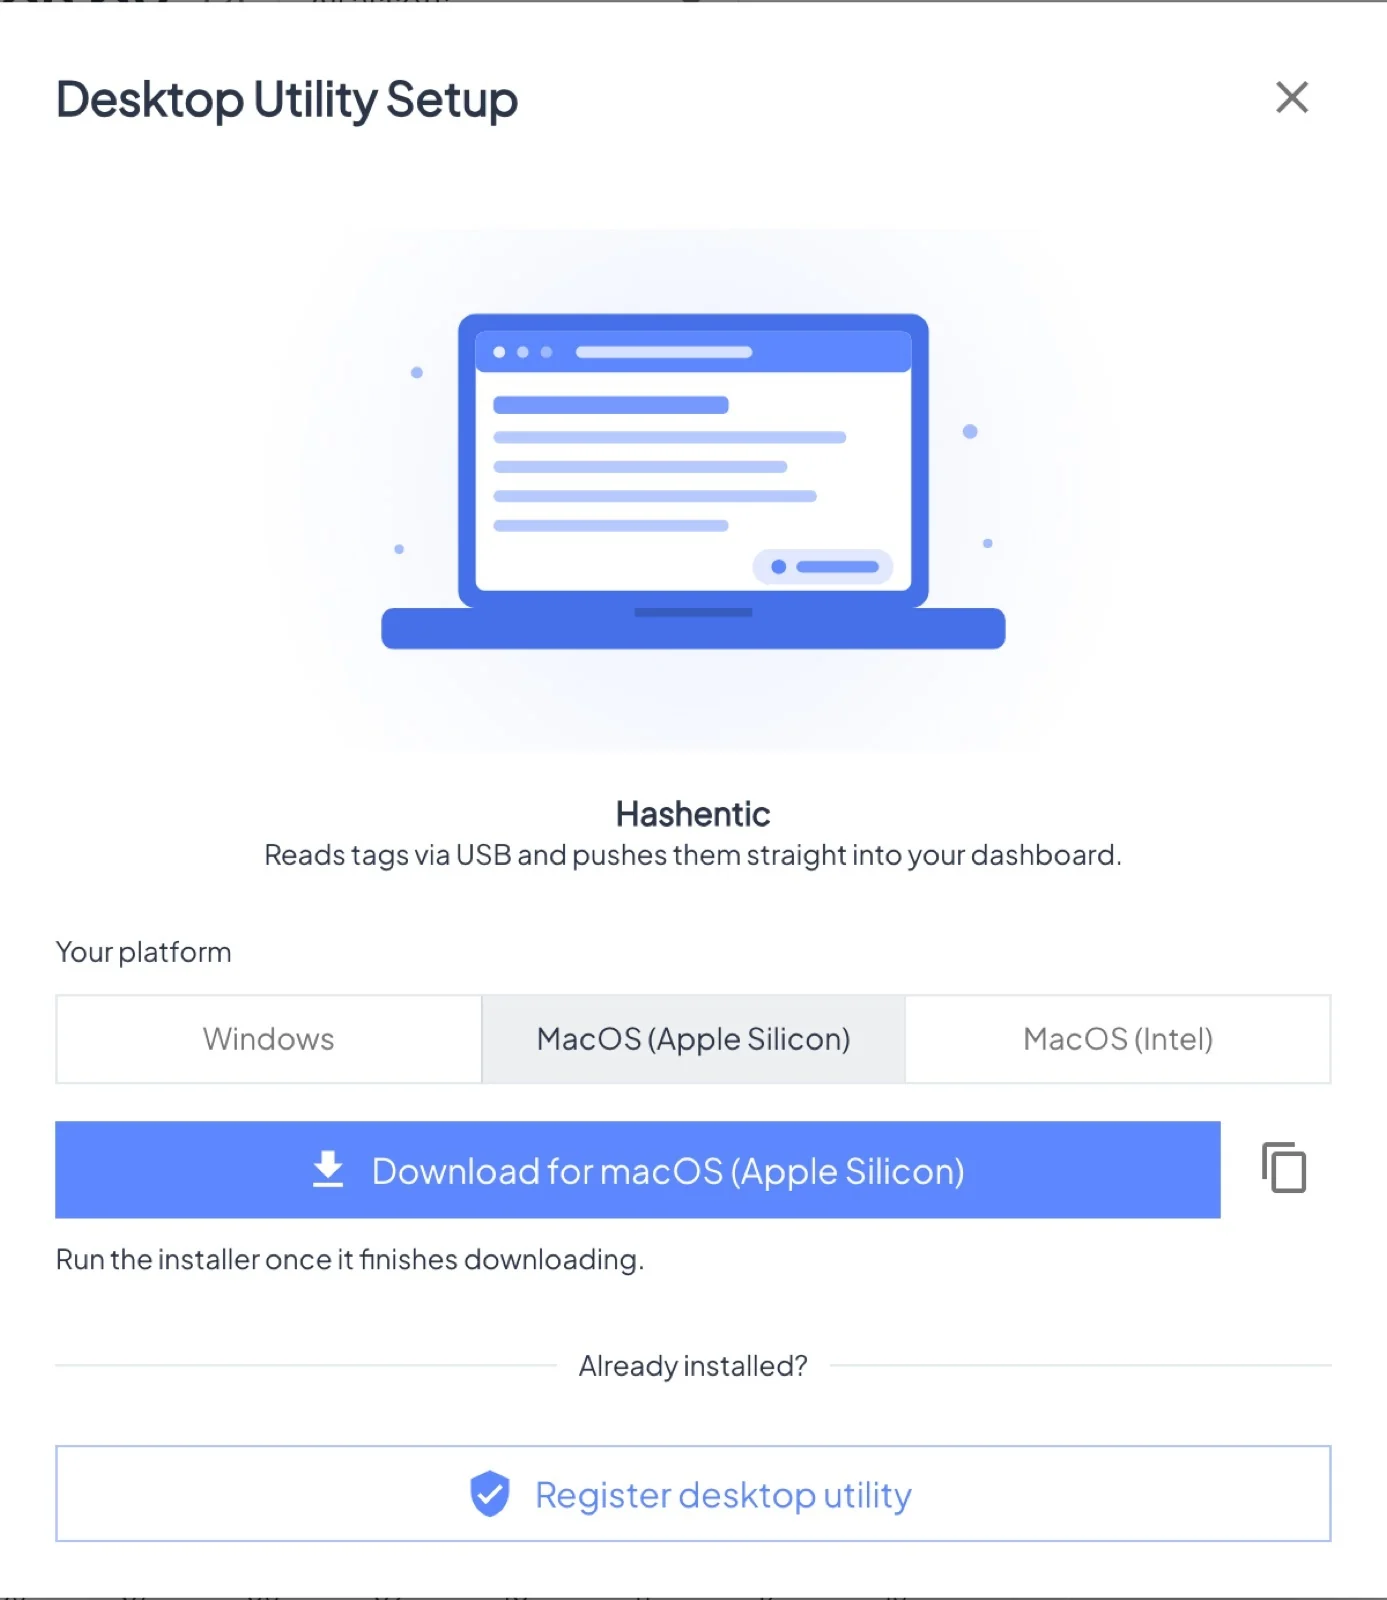
The Desktop utility is a small app for Windows and macOS (Apple Silicon and Intel) that connects a USB NFC reader to your browser session. It runs in the system tray and offers updates when they are available.
- Download it from the setup dialog and install it.
- Click Register desktop utility: the app opens and signs in as you. Alternatively paste the Desktop application token from System → Applications.
- Plug in the reader. When the utility is signed in, the header button turns green: Connected; the Add product dialog shows whether the reader itself is connected.
The utility must be signed in with the same account as the browser. The header button states are Connect frontend (browser not connected), Connect application (utility not running or not signed in) and Connected.
Exporting barcodes#
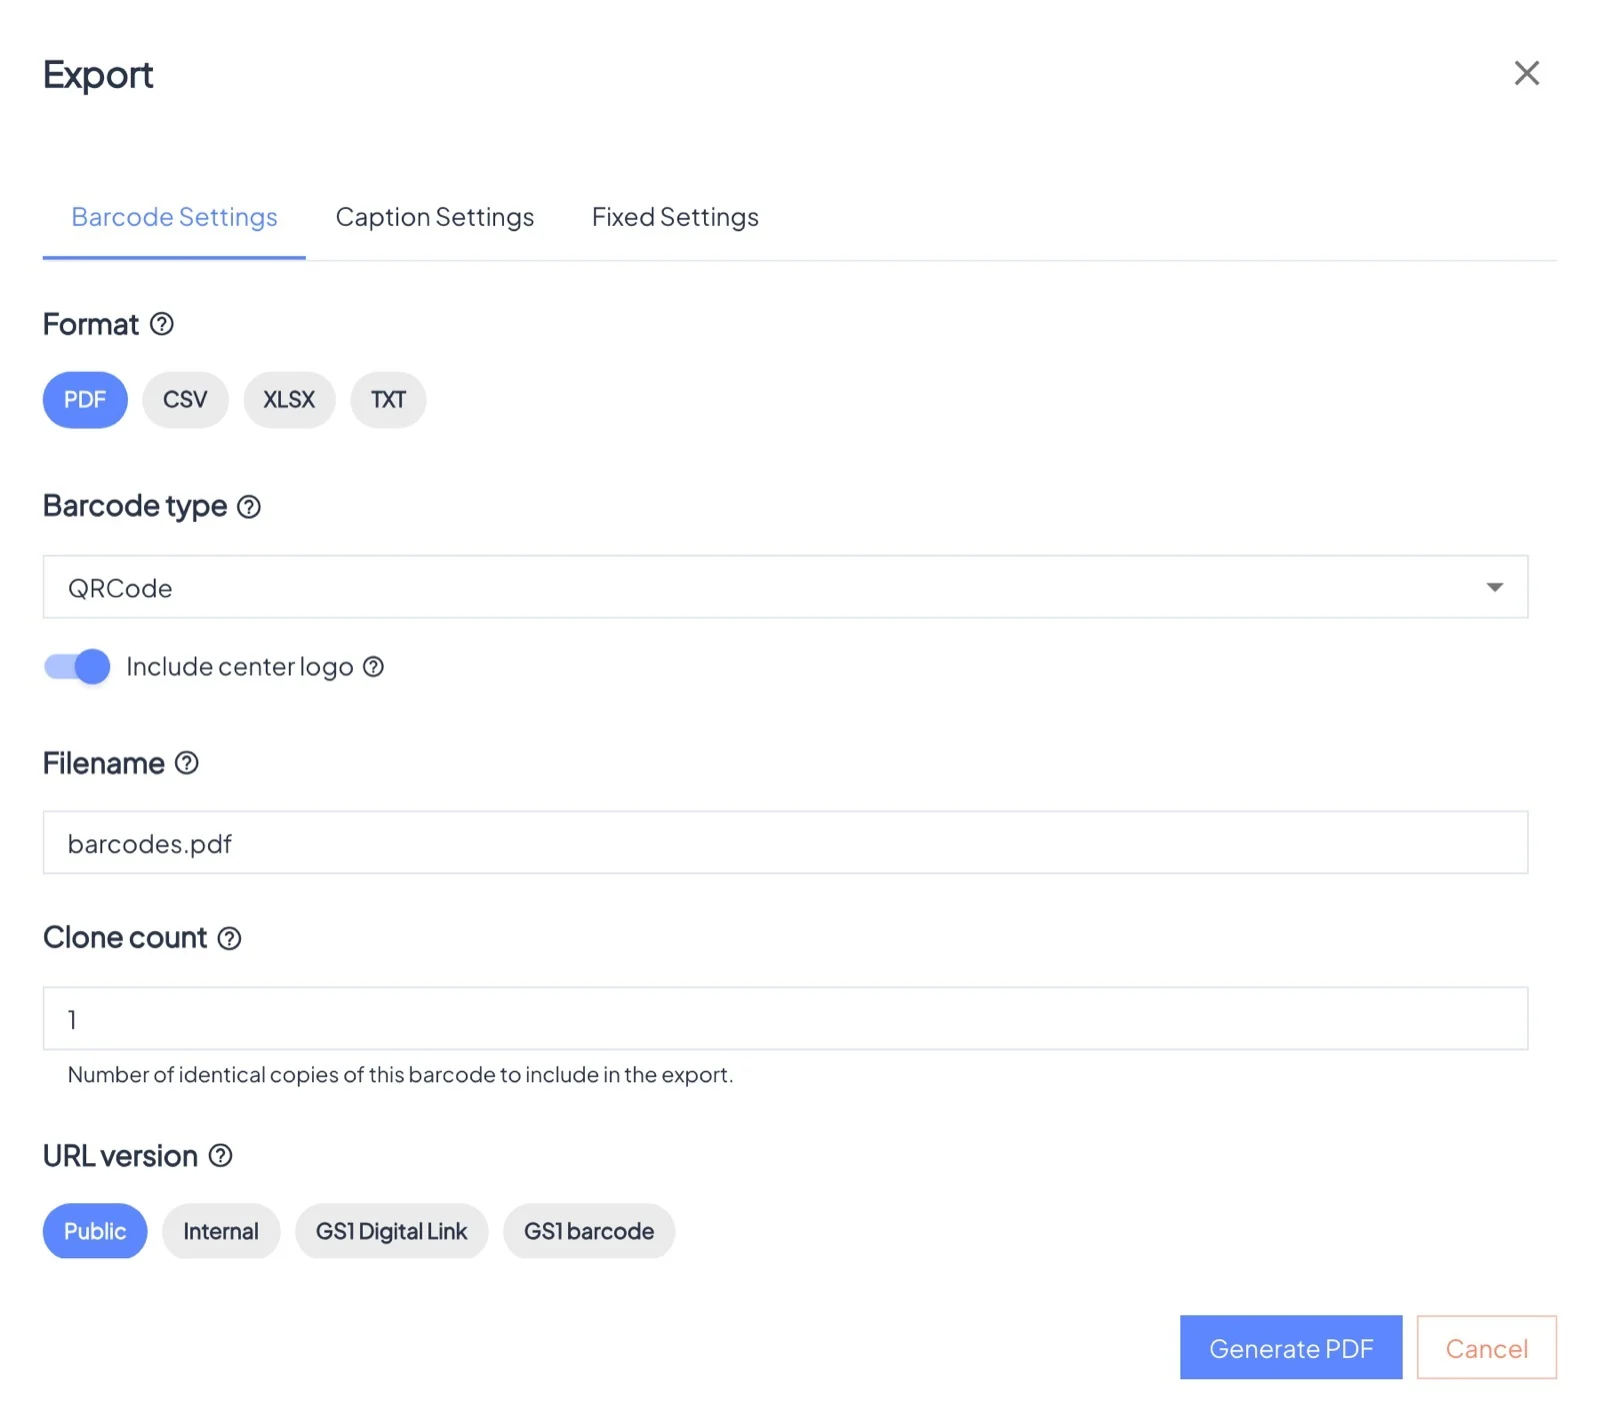
Open Download on a product, Download barcodes on an asset's Products tab (exports everything matching the filters) or on a finished bulk operation.
- Format: PDF (print-ready A4 sheets) or CSV, XLSX, TXT lists of links.
- Barcode type: QR code, DataMatrix or Code 128; optionally with your logo in the center of the QR code.
- URL version: Public (your verification address), Internal, and for GS1 assets GS1 Digital Link and GS1 barcode.
- Size: five presets from Extra small to Extra large, or a custom size with readability hints.
- Caption settings: print a field value or your own text under each code.
- Fixed settings: pages, codes per page and grid of the resulting sheet.
Updating products#
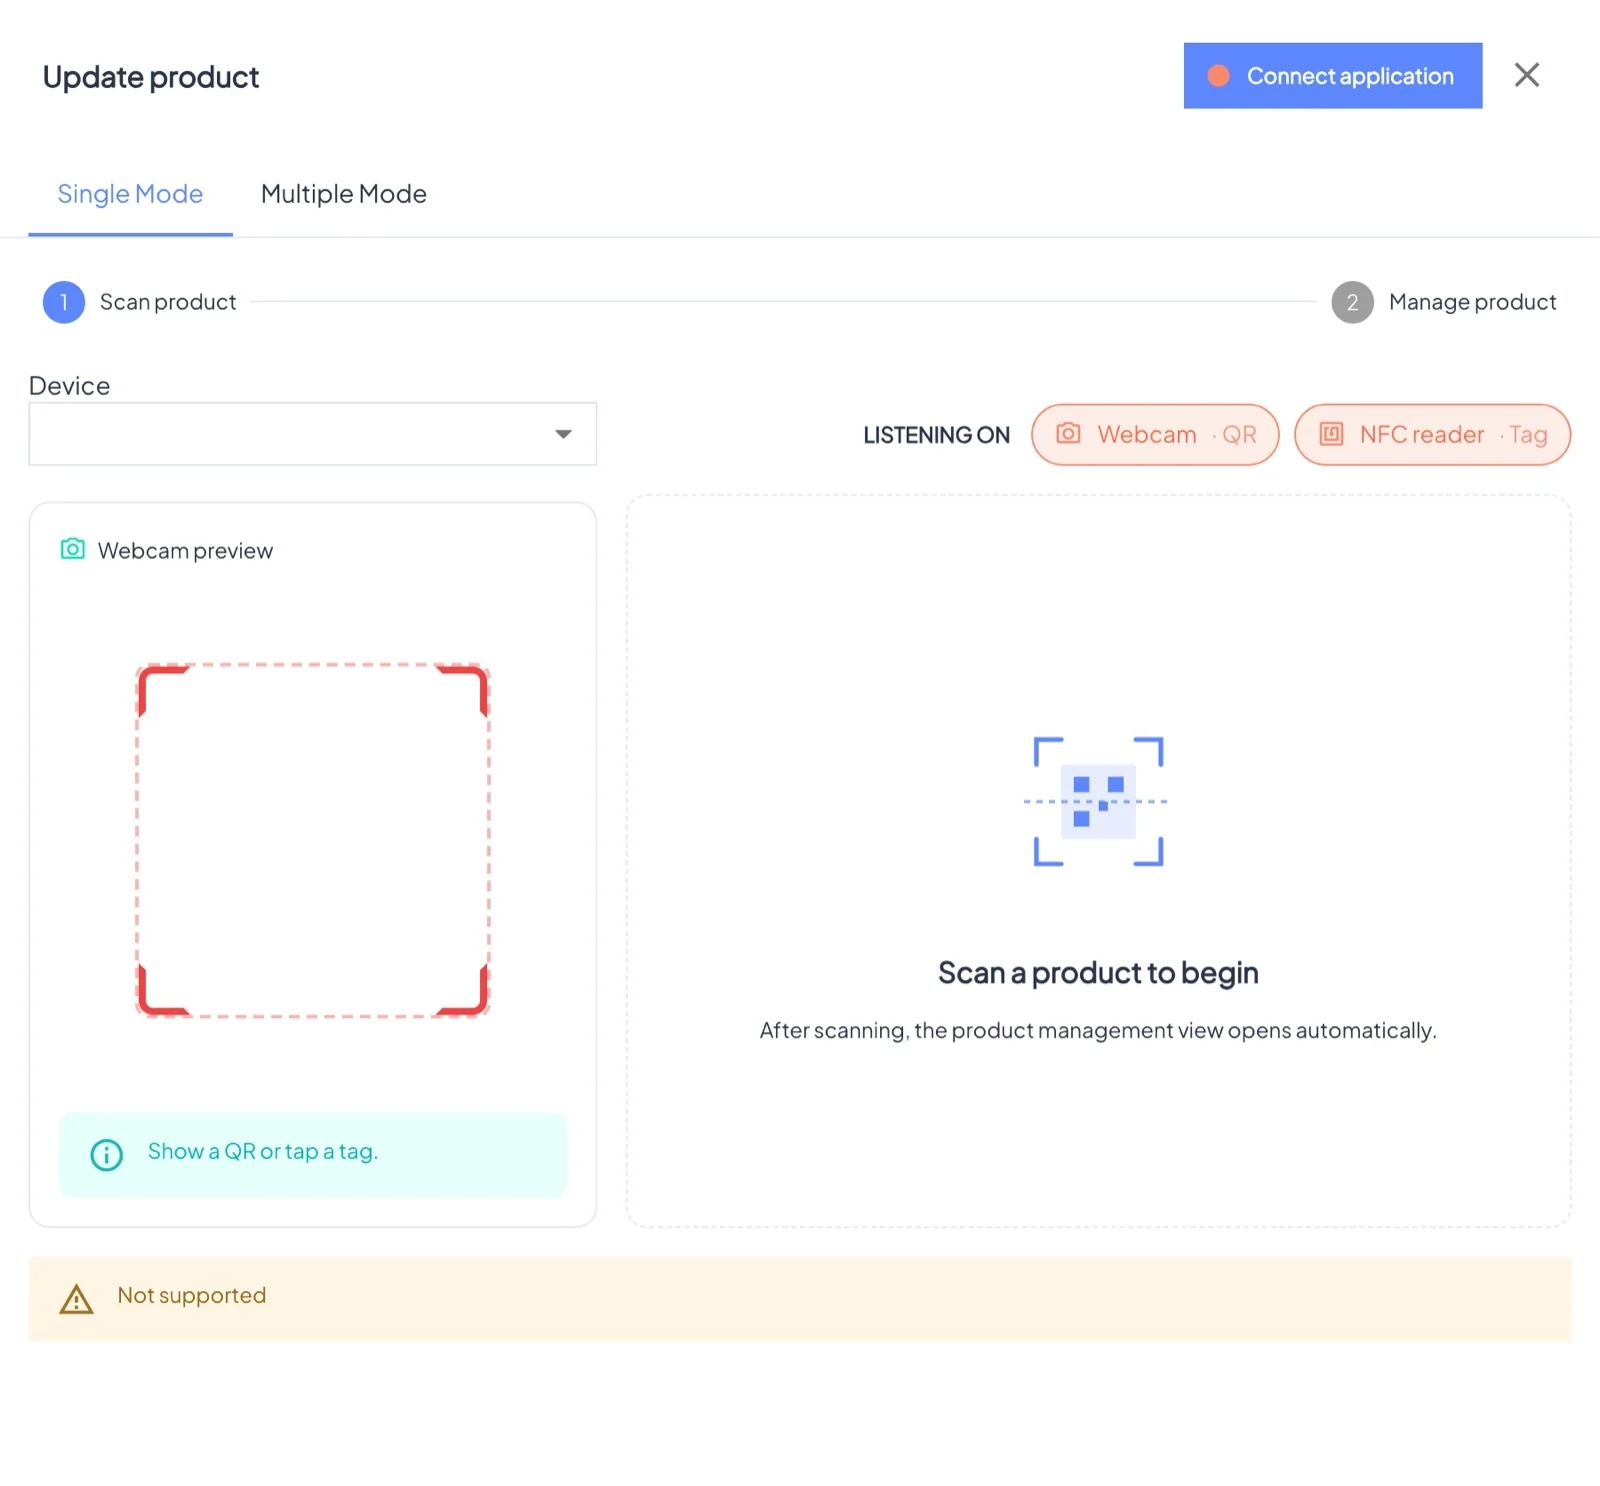
Products → Update finds products by scanning them: show the QR code to your webcam or tap the tag on the reader.
- Single mode opens the scanned product's page, ready to edit.
- Multiple mode collects many products (by scanning, from the mobile app's scan queue, or by a query on the asset), lets you set shared values with per-item overrides, and runs the update in the background.
Only fields with the Update stage can be changed after creation. Editing needs the Update records license feature.